Saturday, July 12, 2014

International Robotics Challenge 2014
IIT Bombay


Sri Lankan Competition - SLRC 2013


  • our two little brothers  
Manual Bot

Autonomous Bot

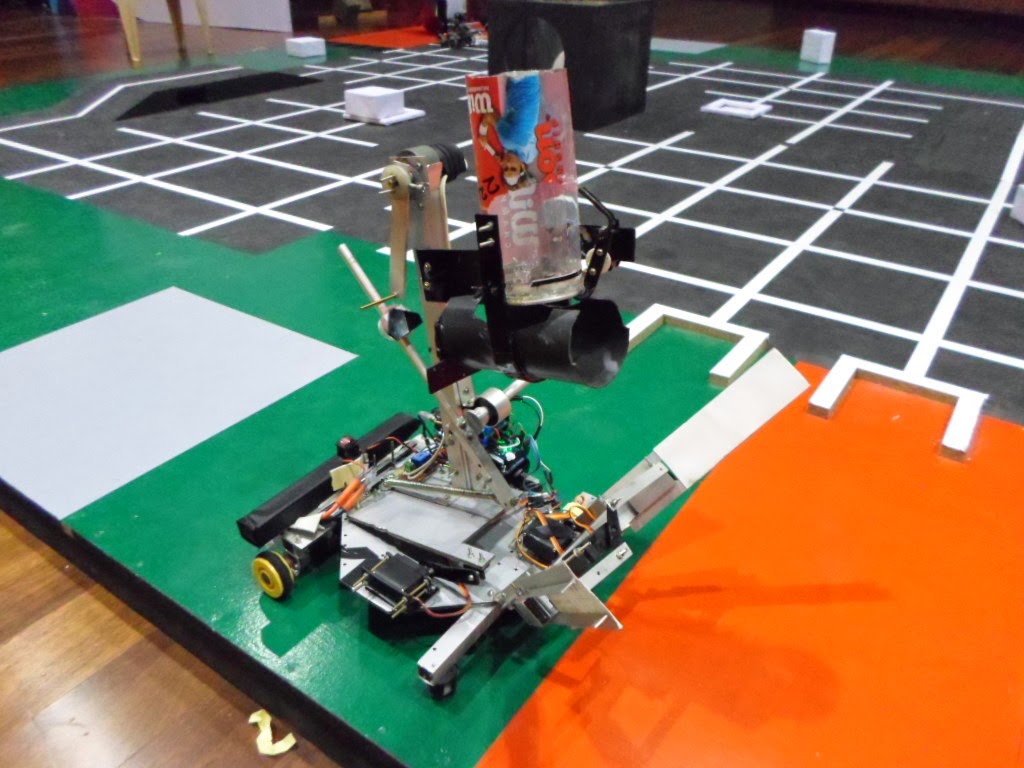
International Robotics Challenge 1st round.

Ball Shooter: Testing


Block Grabber of Manual Bot


Friday, May 9, 2014

Starting Atmel-Avr Programming
ratmcu,5/10/2014 11:42:05 AM

You might already have experiences of microcontroller programming with Microchip PIC. But as a more convenient industrial approach you may look forward to Atmel microcontrollers. So this article will guide you through the process of starting to programming Atmel AVRs with a self-made ISCP programmer. This programmer is made up with a Atmel uC itself so prior to everything we should flash our programmer uC with the firmware.

STEP 1: Building a Serial programmer to flash the firmware.
·         SI-prog: http://www.lancos.com/siprogsch.html
Fig 1: SI programmer.
STEP 2: flash the firmware and fuses to the Attiny uC using avrdude.
·         Install Avrdude on your PC.
Ø  Using the “WinAVR-20100110-install.exe-WinAVR”.
·         Open cmd and type avrdude.
·         You should see
Fig 2: avrdude console.
·         Type “avrdude –c ? “  this will give you the available list of programmers somewhere you’ll see si-prog mentioned.
·         Change thedirectory to the folder containing vusbtiny.hex file and execute following 2 commands
1.      avrdude -c usbtiny -p t45 -U flash:w:usbtiny.hex
2.      avrdude -c usbtiny -p t45 -V -U lfuse:w:0xe1:m -U hfuse:w:0x5d:m -U efuse:w:0xff:m
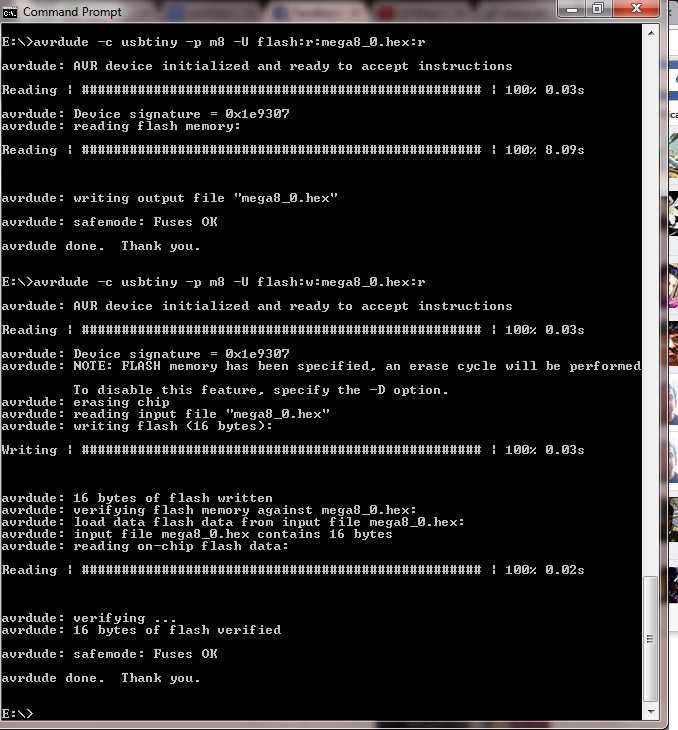
·         If your setup is good and you’re lucky enough you’ll see something like below.


STEP 3: building the usb programmer.

Fig 3: schematic.


Fig4: PCB layout_positions.
Fig5: PCB layout.
Tuesday, April 9, 2013

Remote motor speed control using PIC microcontrollers and RF modules


1.things needed 
- 2 microcontrollers(better if both have ADC and PWM so we can have more fun).
- 2 RF modules
- MPLAB v8.xx (any version would work).
- Motor controller IC L298.

2.Procedure 
- connect 2 RF modules(receiver and transmitter) and 2 mcus on a protoboard 
- and make sure everything works fine with modules and our basic assembly code.
- have some fun with the RF modules and establishing a simple communication.
- Soldering 2 simple boards to control the speed of a motor Remotely.

3.Overview of things we are working with

  1. RF modules
     
Fig1: RF transmitter and Receiver 
These were the exact modules that I used in my project anything shape is not much impotent.They work fine for the purpose and gave me a good range(~70m) even without a long antenna( 6 cm antennas were  used).
all you need to know about your module is what are the DATA,VCC(+) and GND(ground) pins and what are the idle states of their output and input.
supply power to both modules.Be careful to use 2 separate sources because sharing the same ground cause various anomalies. Then connect a LED to the out put of the Receiver and ground and try shorting DATA pin of Transmitter to the GND and VCC. If you can see LED going off corresponding to the the your pulse then Module is active LOW means it gives output by pulling it low.Make sure to record the Transmitter input(+ or -) which triggers the Receiver output too.
Fig2: I/O state detection.

4. Microcontroller coding
    
   coding is simple all you need is some proficiency in ASM. Our coding has Definitions of I/O pins to modules,I/O states of modules , a user  I/O Handling loop and RF loops.
Codes that are written for PIC16F628 could be found here.


Wednesday, January 26, 2011

Monday, August 30, 2010

HOW TO START PIC MICROCONTROLLER PROGRAMING

If you are fed up with soldering ICs ,resistors and all that. You may fing that PIC is a good solution.

FOLLOW the following steps care fully
I did the same so I guarantee u won't get a trouble

STEP1;making the programmer  above is the same programmer I'm still using
it works well with 16F84A,16F88& also with 16F877A
here is a simple table of pin connection

 
here is a soft to check your programmer and to programmer
here is winpic800

    start the soft and plug the programmer u made to com port
then click on

then if ur programmer is ok then u should see

STEP2;Here goes programming
                   download MPLAB
                   MPLAB download
                                                1ST PROJECT
                                       INSTALL & START MPLAB FOLLOW THE PrOject wizard